Outdoor solar lights are an eco-friendly, low-maintenance, and cost-effective solution to enhance landscape aesthetics, improve nighttime safety, and elevate curb appeal. Unlike traditional wired lighting systems, solar lights require no trenching or external power source—making installation straightforward even for non-professionals.
This article provides a structured guide on how to install outdoor solar lights properly, ensuring maximum performance and long-term durability.
Step 1: Define Your Lighting Objectives
Before purchasing or installing any solar lighting, clarify your goals:
- Pathway Illumination: Focus on spacing lights evenly to guide foot traffic.
- Landscape Accent: Position spotlights to highlight trees, sculptures, or architectural features.
- Security Lighting: Install motion-activated lights near entrances, garages, or dark corners.
- Ambient Decor: Place string lights, lanterns, or stake lights to create mood or themed lighting.
Establishing a clear use case ensures optimal light placement and the right product selection.
Step 2: Choose the Right Location
Solar lights rely on sunlight to charge effectively. The installation site should meet the following conditions:
- Full Sun Exposure: Choose a location that receives at least 6–8 hours of direct sunlight per day.
- Avoid Shade: Keep lights away from overhanging trees, fences, or buildings.
- Minimal Obstructions: Make sure the solar panel (built-in or separate) has a clear line to the sky.
If you’re in a region with limited daylight hours, consider solar lights with monocrystalline panels and high-capacity batteries for better performance.
Step 3: Prepare the Ground or Mounting Surface
Depending on the light type, you’ll need to prep the surface:
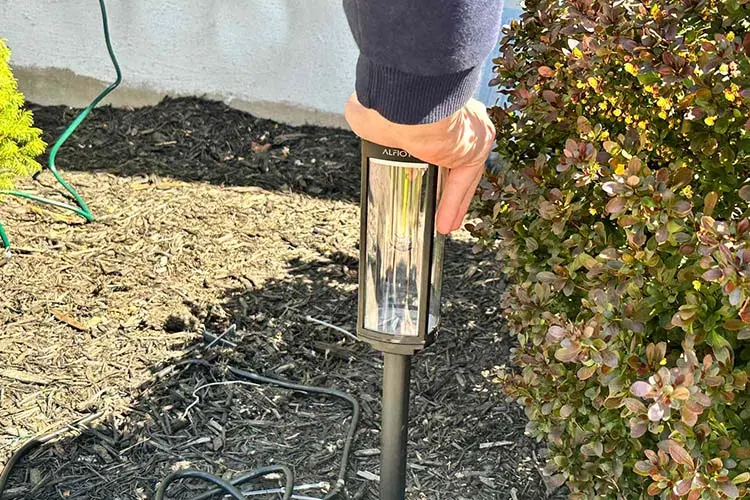
For Stake Lights:
- Use a garden trowel or spike tool to loosen hard soil.
- Insert the stake straight into the ground—avoid using excessive force that may break the housing.
- Ensure the panel faces the sun and is tilted appropriately if adjustable.
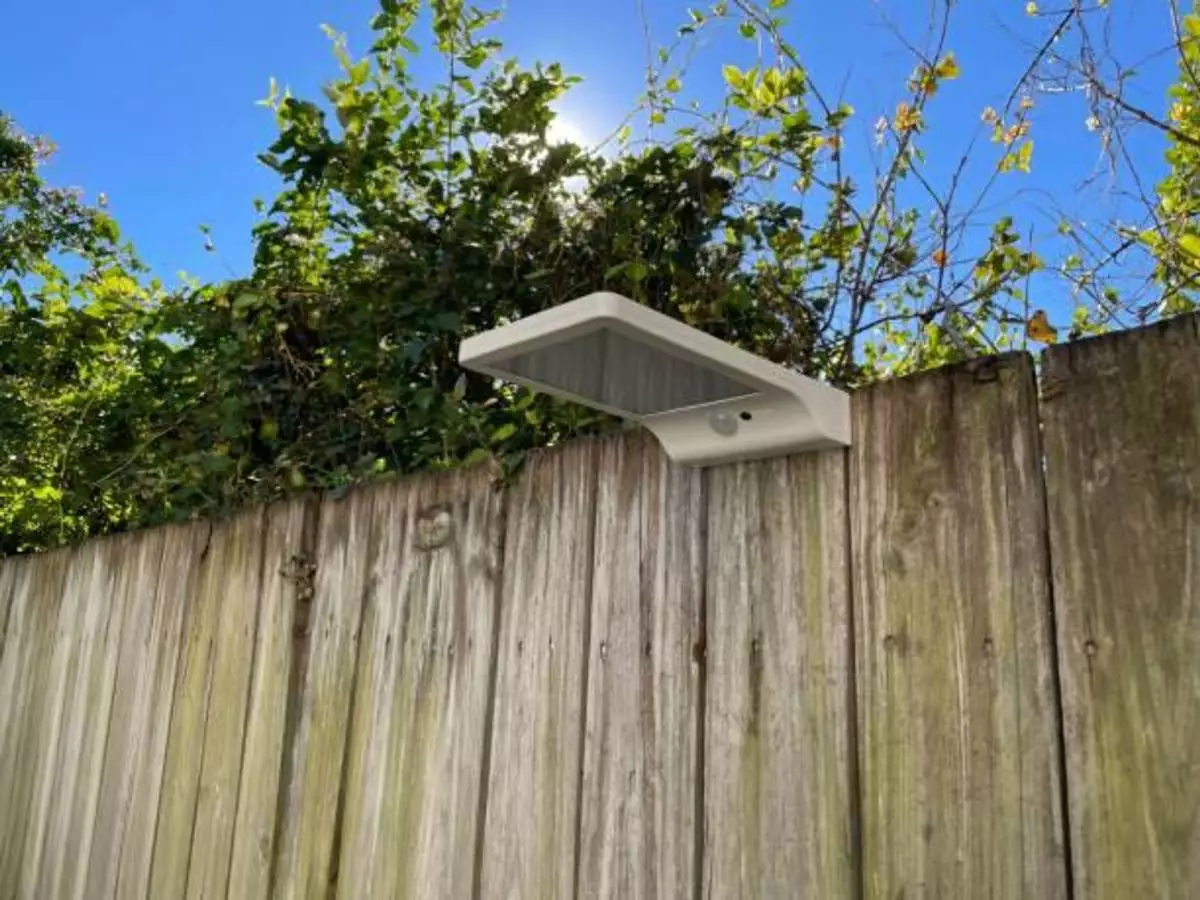
For Wall-Mounted or Fence Lights:
- Mark mounting holes using the light fixture as a template.
- Drill pilot holes and insert wall plugs if needed.
- Secure with screws, ensuring the solar panel faces upward and is not shaded.
For String or Decorative Lights:
- Use hooks, ties, or clips along pergolas, fences, or trees.
- Avoid placing lights where foliage may grow over the panel during the season.
Step 4: Charge Before Use
Most solar lights require an initial full charge before first use.
- Leave the lights in direct sun for 1–2 full days before turning them on.
- Some models come with an on/off switch—ensure it’s turned off while charging.
This helps maximize battery life and ensures full functionality.
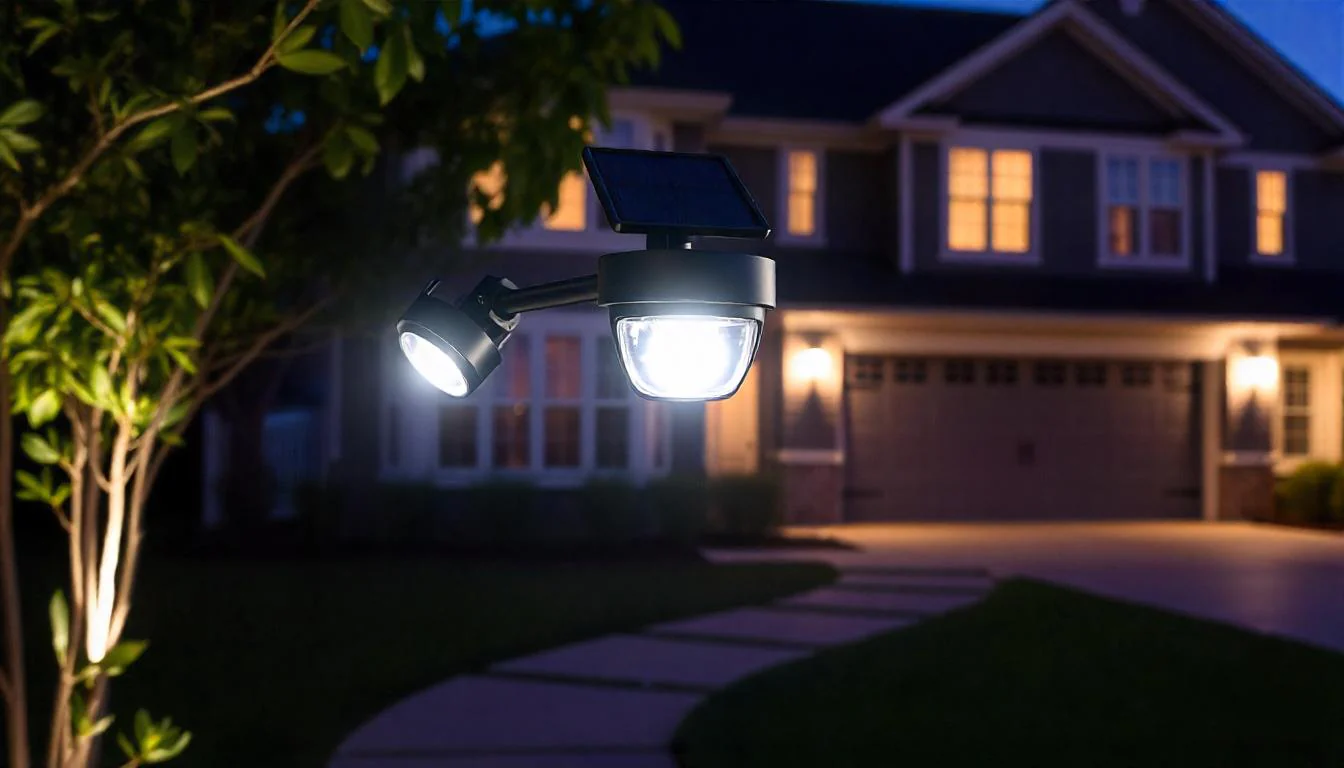
Step 5: Test and Adjust
Once fully charged:
- Turn the lights on at dusk to verify brightness, angle, and coverage.
- Adjust the position, direction, or height if the illumination is too weak or misaligned.
- Ensure the motion sensor (if included) has a clear detection path.
Step 6: Maintenance Tips for Long-Term Performance
Installation is only the beginning. Proper upkeep ensures consistent results:
- Clean solar panels monthly with a damp cloth to remove dust and debris.
- Check battery compartments every 6–12 months for corrosion or wear.
- Trim nearby vegetation that may cast shadows on the panel.
- Replace batteries every 1–2 years for optimal runtime.
Common Mistakes to Avoid
| Mistake | Consequence | Solution |
|---|---|---|
| Installing in shaded areas | Inadequate charging, dim or no light | Relocate to full-sun zones |
| Skipping pre-charge | Inconsistent startup and performance | Charge 1–2 days before first use |
| Using excessive force to stake | Damaged light housing | Loosen soil or use water to soften ground |
| Forgetting to turn switch to ON | Light won’t activate at night | Double-check user manual |
Final Thoughts
Installing outdoor solar lights is a smart investment in sustainability, safety, and style. With strategic placement and minimal tools, most homeowners or facility managers can install a complete system in a single afternoon. Whether you’re lighting a garden path or enhancing perimeter visibility, thoughtful planning and careful execution will ensure your solar lighting system performs optimally for years to come.
Leave a Reply